
Your Secret Garden Map: How to Easily Read Any Seed Packet (Without the Overwhelm!)
Hey there, fellow garden enthusiast! 🌱 Have you ever stood in front of a dazzling display of seed packets, brimming with dreams of a bountiful harvest, only to pick one up and feel a tiny wave of panic? All those numbers, symbols, and tiny words can seem like a secret code, right? I’ve been there! My first few years of gardening, I’d often just pick the prettiest packet, cross my fingers, and hope for the best. Sometimes it worked, sometimes… well, let’s just say I learned a lot from my “experiments”! 😉
But here’s the beautiful truth: that little packet isn’t trying to trick you. It’s actually your very first, most important guide to success. Think of it as a treasure map, carefully crafted by experienced growers to help you unlock the potential within those tiny seeds. And guess what? We’re going to learn how to read that map together, so you can plant with confidence and watch your green paradise flourish. Let’s dig in!
Key Takeaways
- Your Seed Packet is Your Guide: Don’t feel lost! Every seed packet holds all the essential information you need to successfully grow your plants, from sowing to harvest.
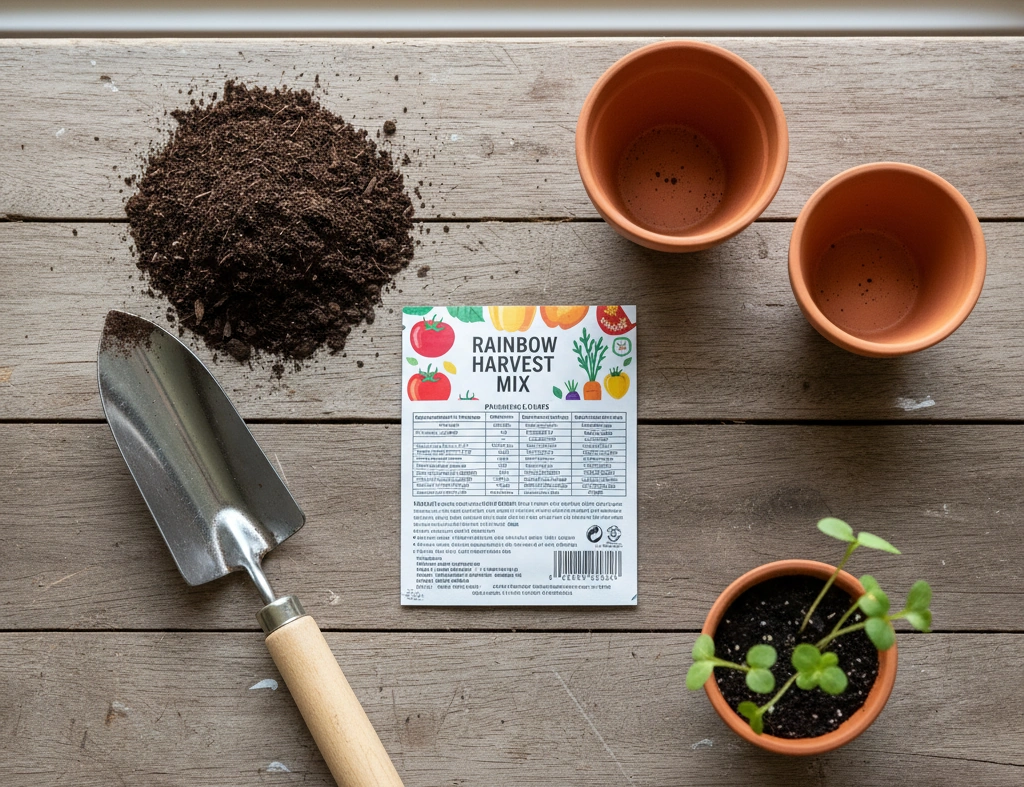
- Front vs. Back: The front of the packet introduces your plant with its name and a tempting picture, while the back provides the crucial “how-to” details like planting depth, spacing, and light needs.
- Timing is Everything: Pay close attention to recommended planting times (indoors or outdoors) and “Days to Maturity” to plan your garden season and enjoy your harvest at just the right moment.
- Understand the Lingo: Terms like “Direct Sow,” “Harden Off,” and “Thinning” are common gardening words that become simple once you know what they mean, and we’ll break them down.
- You’ve Got This! Reading a seed packet might seem like a lot at first, but with a little practice, you’ll be decoding them like a pro, ready to nurture your love for the earth and cultivate growth.
The Front of the Packet: Your First Clues to a Green Paradise
Let’s start with the pretty side, the one that probably caught your eye first! This is where you get your first exciting glimpse of what you’re about to grow.
1. The Star of the Show: Plant Name (Common & Botanical) 🌟
Every seed packet proudly displays the plant’s name. You’ll usually see two versions:
- Common Name: This is the friendly, everyday name we all use, like “Tomato,” “Basil,” or “Sunflower.” It’s easy to remember and helps you quickly identify what you’re looking at.
Botanical (Latin) Name: This one might look a bit intimidating, like Solanum lycopersicum for a tomato or Helianthus annuus* for a sunflower. Don’t worry, you don’t need to memorize it! But it’s super useful because it’s a universal name that avoids confusion. Sometimes, different plants share the same common name, but their botanical name is always unique. It’s like having a first name and a unique scientific last name!
2. The Specifics: Variety Name
Beyond just “Tomato,” you’ll often see a variety name, like “Cherokee Purple” or “Roma.” This tells you the specific type of tomato (or whatever plant!) you’re growing. Varieties have different traits: some are better for sauces, others for slicing; some are tiny, some are huge; some are more resistant to certain diseases. Choosing a variety that fits your taste and garden space is key to a happy harvest!
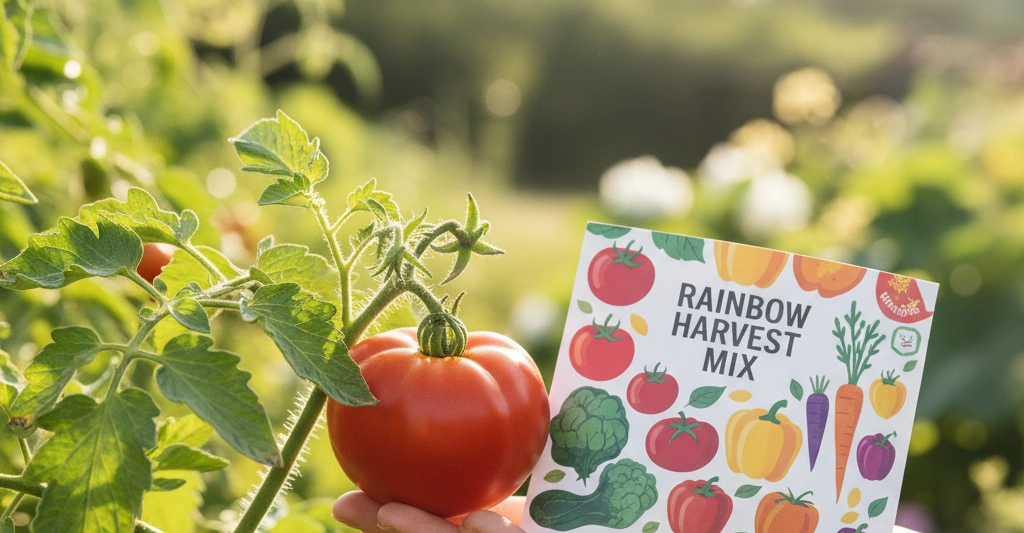
3. The Dream: The Picture 📸
Ah, the beautiful photo! This is often what draws us in, showing us the ideal plant at its peak. It’s fantastic for inspiration and helps us imagine our future garden. Just remember that growing conditions can make your plant look a little different, but the picture is a wonderful goal to aim for!
4. The Source: Brand or Company Name
This tells you who produced the seeds. Over time, you might find certain seed companies you love and trust because their seeds consistently perform well for you. Supporting brands that align with sustainable practices is a wonderful way to nurture the love for the earth.
“Every seed packet is a tiny promise, a blueprint for the vibrant life waiting to burst forth. Understanding it is the first step in cultivating growth.”
Turning It Over: Your Treasure Map to Success! 🗺️
Now, let’s flip that packet over! This is where the real gardening wisdom lies – all the practical, actionable advice you need to get those seeds growing. Don’t skim this part; it’s your instruction manual!
1. Planting Information: When, Where, and How
This section is packed with crucial details about getting your seeds started.
- Sowing Indoors vs. Outdoors:
Start Indoors: Many plants, especially those that need a longer growing season (like tomatoes or peppers), benefit from being started indoors a few weeks before the last frost. The packet will tell you how many weeks* before the last frost date to start them. This gives them a head start!
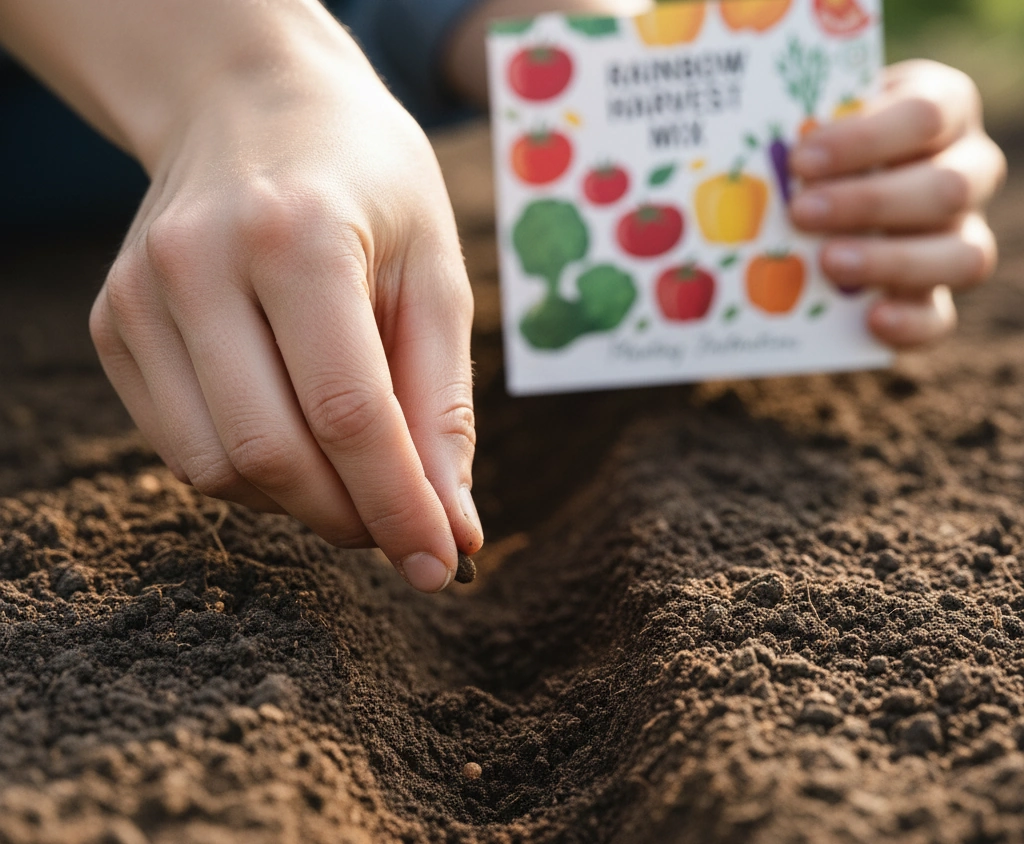
- Direct Sow: Other seeds prefer to be planted directly into the garden soil once the danger of frost has passed or the soil has warmed up. Think carrots, radishes, or beans. The packet will often specify “after last frost” or “when soil can be worked.”
- Frost Dates: If you don’t know your average last frost date, a quick online search for your specific region will give you this vital piece of information! It’s super important for planning.
- Planting Depth: This tells you how deep to bury your seeds. It’s usually a small measurement, like “1/4 inch” or “1/2 inch.” Too deep, and the seedling might not have enough energy to push through the soil; too shallow, and it might dry out. A general rule of thumb is to plant a seed about twice as deep as its width.
- Spacing:
In-Row Spacing: How far apart to plant seeds (or seedlings) within* a row.
Row Spacing: How much space to leave between* rows.
- Proper spacing gives your plants enough room to grow, get sunlight, and air circulation, which helps prevent diseases. Don’t crowd your plant babies!
- Germination Time: This is the estimated number of days it takes for the seeds to sprout after planting. It’s often given as a range (e.g., “7-14 days”). This helps manage your expectations and tells you when to start looking for those exciting first green shoots! 🌱
- Thinning: Once your seeds have sprouted and grown a little, you often need to remove some of the weaker seedlings to give the stronger ones enough space to thrive. The packet will tell you how far apart to thin them. It might feel a little sad to pull out healthy seedlings, but it’s essential for a good harvest!
- Days to Maturity (DTM): This is one of my favorite pieces of information! It tells you approximately how many days it will take from the time you plant your seeds (or transplant your seedlings) until you can start harvesting. This is key for planning your garden season, especially if you live in an area with a shorter summer.
- Light Requirements: Plants need sunshine! The packet will tell you how much:
- Full Sun: At least 6-8 hours of direct sunlight per day. ☀️
- Partial Sun/Partial Shade: 3-6 hours of sun, often preferring morning sun and protection from intense afternoon sun. 🌤️
- Full Shade: Less than 3 hours of direct sun, or dappled light all day. (Though very few edible plants truly thrive in deep, dark shade).
- Knowing this helps you choose the perfect spot in your garden or balcony. If you have a shady spot, don’t despair! There are many wonderful shade-loving plants for containers that can bring joy to those areas.
- Water Needs: Most packets won’t give super detailed watering instructions, but they might say “keep consistently moist” or “allow to dry between waterings.” Generally, most seedlings need consistent moisture to germinate and establish. As they grow, their needs might change.
- Soil Preferences: While packets often give general advice like “well-drained, fertile soil,” this is a great place to think about what “fertile” means to you. For us at Seedling Sage, it means rich, organic soil! If you’re gardening in containers, choosing the best organic soil for container gardening is a game-changer for plant health.
2. Harvesting & Care: Enjoying Your Bounty! 🧺
This section guides you through the rewarding part – enjoying the fruits (or vegetables, or flowers!) of your labor.
- When and How to Harvest: The packet will tell you when your plant is ready for harvest and the best way to do it. For example, it might say “harvest when fruit reaches 4 inches” or “snip outer leaves for continuous harvest.” Following these tips helps ensure the best flavor and encourages the plant to produce more.
- Tips for Ongoing Care: Sometimes you’ll find little nuggets of wisdom here, like “support with stakes” for tall plants, or advice on fertilizing. For an extra boost of nutrients, especially for container plants, I always recommend looking into organic fertilizer for container plants to keep your garden vibrant and healthy.
3. Seed Specifics: What’s Inside the Packet
Beyond the planting instructions, there are usually a few important details about the seeds themselves.
- Number of Seeds/Weight: This tells you how many seeds are in the packet or their total weight. It helps you decide if you have enough for your garden plans or if you need to buy more.
- “Packed For” or “Sell By” Date (Viability): This is super important! Seeds have a shelf life. The “packed for” year tells you when the seeds were packaged. While many seeds can last several years if stored correctly, their germination rate (how many actually sprout) goes down over time. It’s best to use seeds within a year or two of their “packed for” date for the best success.
- Organic/Heirloom/Non-GMO Labels: For those of us passionate about sustainable living and nurturing the love for the earth, these labels are key!
- Organic: Means the seeds were grown without synthetic pesticides, fertilizers, or GMOs, following organic farming standards.
- Heirloom: These are open-pollinated varieties that have been passed down through generations, often prized for their unique flavors, colors, or historical significance. They are true to type, meaning seeds saved from an heirloom plant will produce the same plant next year.
- Non-GMO: Guarantees that the seeds have not been genetically modified.
- These labels help us make choices that align with our values and contribute to a healthier planet. If you’re just starting with organic practices, check out our guide on organic container gardening for beginners.
- Open-Pollinated (OP): These plants are pollinated by insects, birds, wind, or other natural means. Seeds saved from open-pollinated plants will generally produce plants that are true to the parent plant, making them great for seed saving!
- Hybrid (F1): These seeds are the result of crossing two different parent varieties to achieve specific desirable traits, like disease resistance, higher yields, or unique colors. While they often perform very well, seeds saved from hybrid plants usually won’t grow true to the parent; they’ll revert to one of the parent plants or something in between.
4. Special Considerations: Going the Extra Mile
Sometimes, seed packets include even more helpful information!
- Hardiness Zones: While more common on plant tags for perennials, some seed packets might reference USDA Hardiness Zones. This helps you understand if a plant is likely to survive winter in your area.
- Disease Resistance: Some varieties are bred to be resistant to common plant diseases. This can be a huge help in keeping your garden healthy!
- Container Suitability: For those of us with small spaces or balcony gardens, this is gold! The packet might indicate if the variety is “container friendly” or “compact.” Many vegetables that grow well in containers are specifically bred for this, making your small space gardening dreams a reality. We love to focus on container gardening here at Seedling Sage, as it makes gardening accessible to everyone!
- Specific Plant Needs: For example, a packet of herb seeds might mention “good for drying” or “attracts pollinators.” If you’re growing herbs for container gardening, these little tips can make a big difference!
Decoding the Jargon: Common Terms Explained 🤓
Let’s break down some of those gardening words you might see on seed packets. Once you know them, you’ll feel like a seasoned pro!
- Direct Sow: Simply means planting the seeds directly into your garden bed or container where they will grow to maturity. No indoor starting needed!
- Start Indoors: Beginning your seeds indoors in trays or pots, usually under grow lights or in a sunny window, to give them a head start before transplanting them outside.
- Harden Off: This is the process of gradually getting your indoor-started seedlings used to outdoor conditions (sun, wind, temperature changes) before permanently planting them in the garden. It usually involves moving them outside for increasing periods over a week or two. It’s like sending your plant babies to boot camp!
- Thinning: Removing weaker or excess seedlings to ensure the remaining plants have enough space, light, and nutrients to grow strong and produce well.
- Days to Germination: The estimated number of days it takes for a seed to sprout and show its first tiny leaves after planting.
- Days to Maturity (DTM): The approximate number of days from planting (or transplanting) until the plant is ready for its first harvest.
- Succession Planting: A clever technique where you plant small batches of seeds every few weeks instead of planting everything at once. This gives you a continuous harvest throughout the growing season instead of one giant flush. It’s fantastic for crops like lettuce, radishes, or bush beans.
- Full Sun: Requires at least 6-8 hours of direct sunlight daily.
- Partial Sun/Partial Shade: Needs 3-6 hours of sun, often preferring morning sun and protection from the intense afternoon rays.
- Heirloom: An open-pollinated variety that has been passed down through generations, valued for specific traits and genetic stability. You can save seeds from heirlooms, and they’ll grow true to type.
- Open-Pollinated (OP): Plants pollinated naturally, producing seeds that will grow true to the parent plant.
- Hybrid (F1): The result of cross-pollinating two different parent varieties for specific desirable traits. Seeds saved from F1 hybrids usually won’t grow true to the parent.
My Own Seed Packet Adventures: A Tale of Tiny Tomato Seeds 🍅
I remember one spring, I was so excited to grow a new type of heirloom tomato – the ‘Black Krim’. The picture on the packet showed these gorgeous, dark, rich-flavored tomatoes, and I was dreaming of summer salads. I carefully read the “start indoors 6-8 weeks before last frost” instruction and dutifully got my little seed-starting setup ready.
But then I saw the “Days to Maturity: 80-90 days.” My growing season here in the mountains can be a bit short, and I realized that 80-90 days after transplanting meant I needed to get those seedlings out early! I also saw “needs full sun” and “support with staking.” My balcony garden gets great morning sun but some afternoon shade, so I knew I’d have to place them in the sunniest spot and get those tomato cages ready.
One year, I almost forgot the “thinning” instruction for my carrots. I just sprinkled the seeds, and they all sprouted into a thick carpet of green! If I hadn’t gone back to the packet, I would have ended up with a bunch of tiny, tangled carrot roots instead of those beautiful, crisp ones. Thinning them out felt like a tiny act of tough love, but it made all the difference. It’s these little details, hidden on the back of the packet, that turn a hopeful gardener into a successful one.
These experiences taught me that the seed packet isn’t just a suggestion; it’s a carefully crafted set of instructions from someone who truly knows these plants. It’s like getting advice from a knowledgeable friend, guiding you every step of the way to cultivate growth.
Why Seed Packets Are Your Best Garden Friend 💚
Think about it: every single seed packet holds centuries of gardening wisdom, scientific understanding, and a deep appreciation for the natural world. It’s a testament to the cycles of life and our ability to partner with nature to grow our own food and beauty.
By taking the time to truly read and understand what’s on that packet, you’re not just planting seeds; you’re:
- Saving Time and Effort: No more guessing games! You’ll know exactly what to do, avoiding common mistakes.
- Increasing Your Success Rate: Following the instructions dramatically boosts your chances of healthy germination and a thriving garden.
- Making Informed Choices: You can pick varieties that are perfect for your climate, space (whether it’s a small container garden or a larger backyard plot), and taste preferences. This is especially true when considering things like organic vegetable container gardening where every bit of space and effort counts.
- Connecting with Nature: Understanding the needs of your plants helps you feel more connected to their life cycle and the rhythms of the earth.
- Fostering Sustainable Living: Choosing organic, heirloom, or non-GMO seeds, and understanding their specific needs, helps you grow a garden that’s kind to the planet. You’ll also learn about how to care for your plants using organic container gardening supplies which supports sustainable practices.
“A seed packet isn’t just paper and ink; it’s a map to a thriving garden, a guide to sustainable living, and a promise of the joy of nurturing nature.”
Bringing It All Together: Your Seed Packet Checklist ✅
To make it super easy, here’s a quick checklist you can run through every time you pick up a new seed packet:
- What is it? (Common & Botanical Name, Variety)
- When to plant? (Indoor start or direct sow, weeks before/after frost)
- How deep? (Planting Depth)
- How far apart? (Spacing, Thinning)
- How much sun? (Light Requirements)
- How long until sprouts? (Germination Time)
- How long until harvest? (Days to Maturity)
- Is it organic/heirloom/non-GMO? (Aligns with my values)
- Is it suitable for my space? (e.g., container friendly)
- What year was it packed for? (Seed Viability)
Keep this little mental checklist handy, and you’ll be well on your way to mastering the art of reading seed packets!
Nurturing Your Seeds, Nurturing Your Soul
Gardening, at its heart, is an act of hope, patience, and connection. Those tiny seeds hold so much potential, and with a little guidance from their packets, you have everything you need to help them grow. Don’t be afraid to experiment, to get your hands dirty, and to celebrate every single sprout and bloom.
We’re all on this journey together, learning and growing with our plants. Reading a seed packet might seem like a small step, but it’s a powerful one that empowers you to cultivate your own green spaces, foster a love for the earth, and experience the true joy of nurturing nature. Happy planting, my friend! 🌻

0 Comments